Friday, December 10, 2010

An Addictive Candy

I have eaten about 2 bags of Hershey's Candy Cane Kisses since I first laid eyes on them in the store. This is very bad. First of all, I actually do not really enjoy chocolate. So the fact that I literally cannot stop eating these little candies is just astounding to me. Also, I'm not a big candy person. I'd rather snack on some fruit.

However, being as obsessed with these things as I am, I wanted to bake something using them. Being a college student, and having no money, means that I often have a pretty pathetic pantry. Luckily, I always keep baking things on hand [sometimes its just better/cheaper to eat cookies for dinner]. On this particular day, I was running out of baking items, so I turned to store-bought brownie mix. True story, this is a way to make a mix look like its a really fancy treat!


I used my Pampered Chef hand chopper to get the kisses into tiny pieces, and then sprinkled them on top of the brownies. They were good, with just a hint of minty taste here and there. If I made them again, I'd probably put them in the middle of the brownie batter, so they'd be a surprise when you bit it, and hopefully would retain a bit more chocolatey texture.


But hey, you can't go wrong with brownies :)

Monday, November 22, 2010

Fiesta Chicken! Its a party!


Sorry for all the delay over posting again; it has been a very hectic week. I guess that's how we know its finally the holidays. But hey, cooking and baking goes hand in hand with the holidays, and I am very excited to get to start making a lot of delicious things to put on here!

So, as a college student, I am prone to hitting slumps of not wanting to do anything. Sadly, this usually extends to cooking as well. All I want during these times is for someone to bring me food and drop it directly in my lap. This has yet to happen, but it doesn't diminish my hope.

Good thing I have a very hungry boyfriend who makes cute sad faces when he doesn't get food [he's 6'4, and can put away a serious amount of food!]. So I pulled myself out of my lethargy in order to throw a couple things in the Crock Pot and then take a nap. Honestly, that's what I did! That's my favorite thing about this recipe, which I am pretty sure is originally from some cooking posting board, but have absolutely no idea for sure...I doctored it up a little bit too. It's very simple, but filling. I don't often have an opportunity to use black beans [Stephen doesn't like them] but they are extremely good for you: they help lower cholesterol AND are virtually fat-free! Check out http://www.whfoods.com/genpage.php?tname=foodspice&dbid=2 for more health benefits of these great beans.

So if you've hit that same slump as me, don't be concerned, just make the easiest meal ever, take a nap, and feel very productive when people are amazed by the good food you put in front of them. Make sure to tell them that it took a lot of effort. And that they should be on hand for dropping food in your lap should you ever need it :)


Fiesta Chicken [I made this name up, it has no name, but I thought this could be fitting?]

2 boneless skinless chicken breasts
1 can black beans, drained
1 can diced tomatoes, mostly drained [but hey, if you want to dice fresh tomatoes, more power to you]
1/3 large onion, chopped into large slices
1 tsp black pepper
1 tsp garlic powder
2 tsp red pepper flakes
Tabasco/hot sauce
Rice

The ingredients listed above are for 2 people. However, it could serve 3 if you put in an extra chicken breast. Any more than 3 people and you will have to add extra of each ingredient. But don't be scared, it really can't go wrong, so you don't have to be exact with measurements.

Place sliced onion in bottom of Crock Pot. Put chicken breasts on top of onion slices [mine weren't even fully thawed!]. Sprinkle spices on top of chicken breasts. Pour tomatoes and black beans over the chicken. Make sure entire chicken breasts are covered, and mix the beans and tomatoes together slightly. Shake in Tabasco or hot sauce, using 1 tsp per chicken breast, unless you like things really hot, in which case go crazy. You can also add extra Tabasco at the very end of cooking, or on the individual plate.

Turn Crock Pot to High for 4.5 hours, or Low for 6 hours, depending on when you want to eat.

Serve over rice.


**The good thing about Crock Pots is that you really can't overcook something. So if you get home later than expected, or forget that you're cooking [unlikely, as the delicious smell of this fills the entire house] then you don't have to be concerned that you ruined dinner.

Tuesday, November 16, 2010

I don't mess around when it comes to cheesecake


If you're like me, you could eat cheesecake for any meal. I am not ashamed somewhat ashamed to admit that I have indeed eaten cheesecake out of the pan, and for breakfast. Has anyone seen that episode of "Friends" where Rachel and Chandler keep stealing the cheesecakes from outside a woman's apartment? I would be right there with them when they did that, and later I'd grab my fork to eat that cheesecake off the hallway floor.

Just in case you couldn't tell, I'm serious about cheesecake.

I fell in love with food blogging because of Bakerella, and so when I found a cheesecake recipe on her website, I KNEW I had to make it. And [un]luckily for my roommate at the time, I enlisted her help [thanks Allie!].

I bought a hand mixer solely for this purpose. I called my mom up from several hours away and wheedled and whined until she let me borrow her German cheesecake pan [that I later broke, by the way]. I was going all the way. I was going to make the most impressive first cheesecake ever.

And it was. Ok, maybe not the most impressive, but by to my pasta 6 meals out of 7, potato chip snacking, cheap beer drinking self...I was a cheesecake goddess. My favorite thing about this recipe: its not too sweet. It has that rich authentic cheesecake taste that downplays the sugar. Which makes it a great dessert. And also a bad one. Because you end up eating way more than you should, because you convince yourself that its good for you since its really not too sweet.

Please. Go get the ingredients. Now. I know that it seems like an indecent amount of cream cheese, but even a college girl can afford to splurge to buy cheesecake ingredients. And considering this will feed you for like 3 days straight, its honestly a bargain.

*Sidenote: For a quicker, and still pleasing version, I sometimes use a store-bought crust and then just make the filling. That way I can get my fix faster. I mean...


Plain Cheesecake
This is Bakerella's exact recipe. Please feel free to visit her site for much better photography, and no cracks around the edges.

For crust:

2.5 cups graham cracker crumbs
2 tablespoons sugar
1/2 cup butter, melted

For filling:

4 (8oz.) packages cream cheese
1.5 cups sugar
3 tablespoons flour
5 eggs
1 cup sour cream
1 tablespoon vanilla
1 tablespoon lemon juice

Optional:
Toppings [such as syrup, whipped cream, fresh fruit, melted jam, Oreo crumbs, etc]

  • Preheat oven to 325 degrees
  • Combine graham cracker crumbs and sugar.
  • Stir in melted butter until moistened.
  • Pour the mixture into a 9 inch springform pan that is at least 3 inches tall. Press the crumb/butter mixture into the bottom and up 1 inch on the sides
  • Bake for about 10 minutes. Remove and cool to room temperature. [You could also substitute this for a cinnamon graham cracker crust, or chocolate graham crackers, or if you're really bold...Oreos!]
  • To make the cheesecake filling, cream the sugar, cream cheese and flour with an electric mixer on medium until light and fluffy.
  • On medium low, add eggs one at a time, mixing well with each addition.
  • On low, add sour cream, lemon juice and vanilla just until combined. [I would like everyone to know that you can definitely do all this without a mixer, as I do now, ever since my mixer started smoking and lit on fire after making too many desserts...true story]
  • Bake for about 1 hour and 15 minutes at 325.
  • Make sure to take it out of the oven before the center looks done. It will be kind of wobbly and it will move in one piece. The center will look more shiny than the edges. That’s ok because it will continue to cook a little while it’s in the pan.
  • Remove from the oven and let cool completely to room temperature.
  • Hope that it doesn’t crack. [As you can tell, I did not follow this step. Don't be alarmed, it will taste just as delicious, and you will comfort yourself with the fact that of course nobody will want to eat a cracked cheesecake, and you will be left with no other choice but to eat it yourself.]

  • Separate the cheesecake from the sides of the pan. Let it chill overnight for the best flavor. This will of course be the hardest step, so you may allow yourself one slice, but honestly it is infinitely better if you allow it to chill overnight because magical cheesecake fairies come do magical delicious things to it in your fridge or something :)

Monday, November 15, 2010

I had an extra pie crust!

I've decided my pictures are in the same vein as the Domino's campaign. They post real pictures, sent in from pizza consumers [if we believe what they tell us], on their commercials. That way you know what you're really getting. As much as I would love a fancy camera, and a nicely arranged plate of food, that's just not what happens in reality. You make a dish, and you barely have time to step away from the pan before the boy in your life pops out of nowhere to devour it. Oh, well, that's my reality anyways.

But let's get to the pie!

I had an extra pie crust left over from making a quiche a few weeks ago. Yes, I will tell you all about the quiche in my own time. Focus on the pie, people. I don't know about you, but I normally make pies that have a top and bottom crust. So I was unsure of what to do. Luckily, I have a cobbler that I frequently make, and it is usually a huge hit. I decided it was time for a pie adaptation.

Cranberries. Apples. Cinnamon. Streusel. Pie crust. Heaven?

In case you are squirming in your seat, yes, that combination is heavenly.

The boyfriend positively jumped in excitement when I told him that I use his opinion of the food on this quite-unknown blog [I guess now we know he needs more excitement in his life, poor guy]. His opinion of this pie, and I quote: "neither fruit overpowers the other", and "the texture of flavors all combine to make it wonderful experience in my mouth." How poetic.

In my own opinion, as my biggest critic of course, I need to work on my streusel recipe. Perhaps I needed less, or maybe I need more butter [I vote this option!] because the top layer of the streusel was still dusty and not completely crisped over. Don't worry, once you mix it in with the fruit it still tastes fantastic.


Cranberry Apple Streusel Pie
adapted from a cobbler recipe that I'm pretty sure is from Pampered Chef

1 pie crust
3 Granny Smith apples, peeled and finely sliced
1 can WHOLE cranberry sauce [make sure its not just the jelly stuff!]
1/4 cup brown sugar
2 heaping tablespoons flour

Streusel:
1/3 cup flour
1 cup oats
4 tablespoons butter
1/3 cup brown sugar
1/2 tsp pumpkin pie spice [you could also use nutmeg if you have that]
1/2 tsp cinnamon
1/4 tsp salt [I normally never use salt, but this helps cut down on the sweetness]

Preheat oven to 350 degrees.

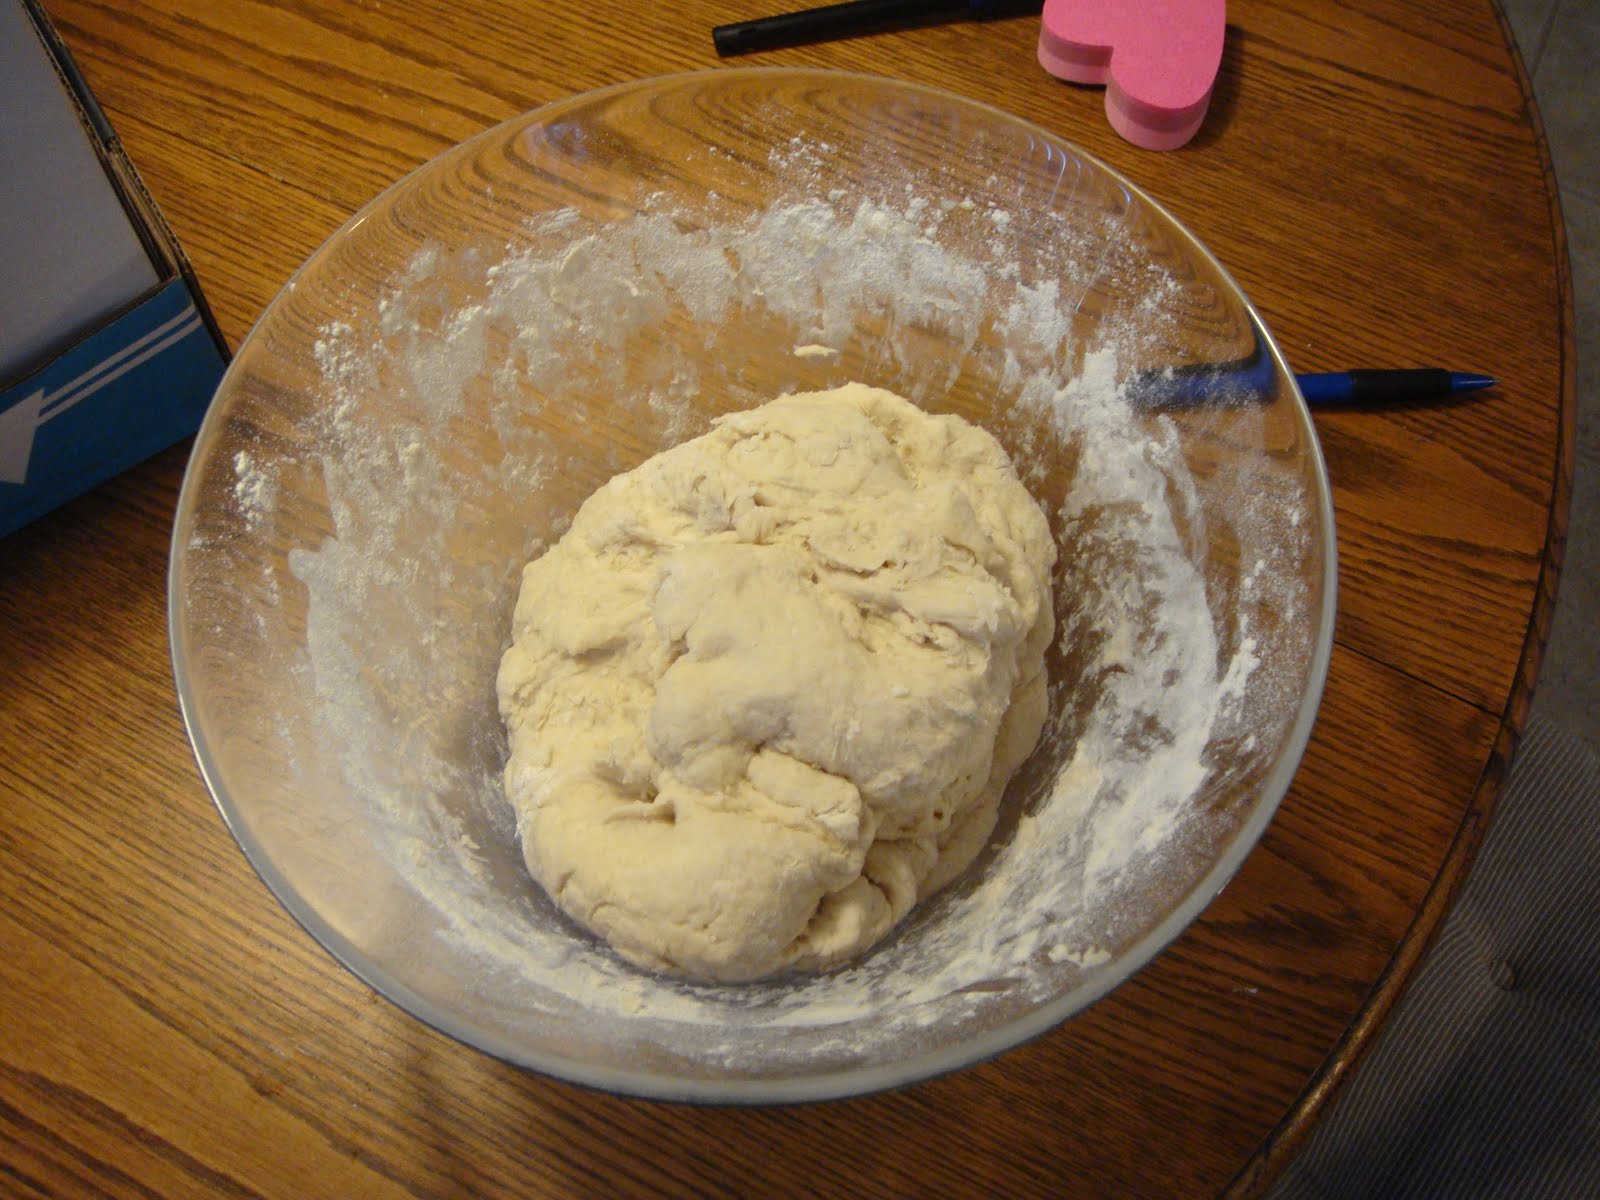
Place pie crust in pie pan, fluting the edges if you desire. It probably won't matter what it looks like, as the pie ingredients will reach pretty high on the crust. Spiral apple slices on top of the pie crust.

Mix cranberry sauce, brown sugar, and flour together, and pour on top of the apples. Make sure every apple piece is covered in at least a little cranberry.

Because the ingredients mixed in with the cranberries were all safe, you can just rinse that bowl out and pat dry, and make the streusel in it. This cuts down on the dishes to wash! Once the streusel is made, pour evenly over the top, in the amount that you desire.

Bake at 350 for 40-45 minutes. If your pie crust is peeking out and starts getting too brown, cover the edges in foil and keep baking.

Sunday, November 14, 2010

Comfort Food


Everyone who cooks regularly, and some who don't, probably know a recipe by heart.
I know TWO. [Yes, in some demented world, this
does make me some kind of chef royalty.]

Baked ziti is something I've been eating since I was very young when we would go to visit my grandparents. My grandma was Italian, and made the BEST meatballs and sausage. Sadly, I have not attempted that yet.

I always try to keep the ingredients for this on hand, and its my go-to recipe if I need to feed a lot of people [I barely have enough money to buy meat for myself, much less buying the grocery store out of meat if my boyfriend ever has friends over].

The beauty of this dish is that you could mess it up, you could add things to it, you can halve it and double it, and it will still be delicious. This is an excellent meal for young kids to make as they start to learn to cook, because it uses very simple measurements and is a food they can recognize from any Italian restaurant. I'm all about success.

So tonight, I was starving, but I have a term paper due tomorrow [not something you normally hear in your average cooking blog] and I'm still struggling with my writing groove. I didn't have time for spending any time outside of the necessary in the kitchen.

As you'll notice from both pictures, disposable plates and pans are a college girl's best friend. So next time you're looking for a present for that college-aged individual that you know, I'd recommend a large package of Solo plates and plastic silverware. Or you know, cash :)


Baked Ziti
/penne/mosticcioli/umm...I used some rotini too

Box of pasta
Half a jar of sauce [or if you use your own sauce it comes to about 1 and 3/4 cup]
1 or 2 garlic cloves, pressed or finely chopped
1 can of cheddar cheese soup
1 cup mozzarella cheese
Additional mozzarella cheese for topping
Parmesan cheese for garnish

Heat oven to 350 degrees.

Cook pasta as required according to box, and drain.
[I used whole wheat pasta to try and get all the health out of this dish as possible.]

Put hot pasta in casserole dish. Mix in cheddar cheese soup. Then mix in garlic and sauce. Mix in mozzarella cheese, and feel free to add more if you want. Top pasta with another layer of mozzarella cheese as desired.
[Sometimes I add Parmesan cheese at this time as well.]

Cover pan with the lid or foil. Cook at 350 for 30 minutes. If you want the cheese to be browned on top you can take the foil off at 25 minutes and cook for an additional 10 minutes.

Top with grated Parmesan cheese if desired on individual plates.


**This makes great leftovers too; it heats up great in the microwave without needing additional liquid added to it.
***Recommendations for great things to add to this dish: fresh basil, pre-cooked shredded or cubed chicken, meat sauce, meatballs or Italian sausage, pepperoni. Be creative!

Friday, November 12, 2010

French Toast was actually created in Spain!


We weren't eating the French bread fast enough.
It was tragic.

I didn't want my hard work on that bread to go to waste by having to throw any of it away for going bad. I was wracking my brain for things that I could make with it. Croutons, garlic bread, FRENCH TOAST.

I personally do not really like French toast. I like French toast sticks at Burger King? I know, gourmet, right. Something about the fact that you're pouring syrup on eggs on toast just really freaks me out. And don't even get me started on how I don't use syrup on waffles or pancakes.

But Stephen loves French toast. And because I like to challenge myself [and because he whines if I don't feed him :) ] I decided I would make it this morning, despite never having done so before.

It was a big hit! I even had a bite, and yep, it was French toast alright. I really want to make stuffed French toast, or maybe a flavored one, but most of the recipes I've found for that require the bread to soak overnight. So I'll leave that for another day!


French Toast

This recipe made 3 pieces of thick-sliced French bread. Just multiply the ingredients to feed however many people you need to!

2 eggs, beaten
healthy splash of skim milk [don't worry, you can't get that wrong!]
1 tsp cinnamon
1 tbsp pumpkin pie spice
powdered sugar and syrup for topping
fruit for topping, if desired

Beat eggs, milk, cinnamon, and pumpkin pie spice together. [Note: I used pumpkin pie spice because it is a mix of cinnamon, allspice, nutmeg, ginger, and is super delicious. You can just use cinnamon if you'd like, or create your own mixture of spices.]

Place bread in bowl of this mixture. Allow bread to soak for 10-15 seconds on each side. Pay attention at this point, because you want the liquid to soak through the bread, but you don't it to get mushy. So this really depends on how thick you sliced the bread.

Cook in skillet on medium high heat for a couple minutes on each side. You'll know when they're done because they'll be golden brown and the egg will look like it's cooked on each side. I put each piece in a pan in the oven [set to 200 degrees] while I cooked the rest, that way the whole plate stays warm.

Sprinkle with more pumpkin pie spice or cinnamon, powdered sugar, and fruit, then top with syrup.

Thursday, November 11, 2010

Crockpots - A Girl's Best Friend

I got a crockpot a couple years ago for Christmas. It's perfect because it means I only have one thing to wash when everything is done, and it can cook while I take a nap :)

Sometimes I have a difficult time finding the crockpot recipes though. There's so many things that you can tweak just a little bit to turn into a slow cooker recipe. Soup is an excellent example of this, and is perfect for the cold weather that might eventually reach Florida.

And let me tell you, this baked potato soup received an excellent review from the boyfriend [and there's no meat in it, so this is a big deal!], and it made enough that we have at least 2 more meals out of it!


There aren't too many ingredients, which is great. For a lot of people, the more ingredients, the more difficult it is to follow along and not forget something or do something incorrectly. Plus, these are all items that are common to a kitchen, so chances are you can make this in a pinch if you don't know what else to cook.


I admit, I didn't want to put the oven time on for 6 hours, and I had to go to class, and live my life, etc, and I absolutely knew I wouldn't remember when I put it in. Here I am, early 20's, and I already need to give myself reminders. This is not a good sign for the future.


YUM. Tasty. Delicious. Fantastic. I'm going to go get myself a bowl right now actually.

[Small trivia fact for you: eating your food in a blue bowl/plate actually helps you eat less. Something about the things that are triggered in your brain when you look at the color blue. Cool, right?]


Loaded Baked Potato Soup for the slow cooker
[adapted from my mom's recipe, which is made on the stove]

3 good sized baking potatoes
14.5 oz chicken broth
1.5 c skim milk
1/2 c chopped celery
salt and pepper to taste [I don't actually use salt often when cooking, so I only added pepper to the soup]
1 garlic clove, pressed or very finely chopped
Bacon pieces
1 c sour cream
cheddar cheese for garnish
Green onions for garnish

Peel and cube potatoes. Put them in the bottom of the slow cooker. Pour the chicken broth and skim milk over the potatoes. Add in celery, salt and pepper, and garlic. Mix it all up, but make sure that all the potatoes are at least mostly submerged in the liquid. Set the slow cooker to low and cook for 6 hours.

At about 5 hours and 45 minutes in, add enough bacon for your liking [I used real bacon pieces from the store, because I don't usually have bacon in my fridge, and I also don't really like to cook bacon], and stir in the sour cream. Let cook for 10-15 minutes longer.

Ladle into bowls and top with cheddar cheese and green onions [I didn't have green onions, but I can guarantee they would be delicious on this soup].

Enjoy :)

Wednesday, November 10, 2010

Making Bread - I can check this off my bucket list


I've never made bread before.
I've never made bread that was not made in a bread maker.
So basically, never.

But I really wanted to. But I also didn't want to have to wait multiple days for rising and all those types of things. Basically I'm representing my generation in my desire for a lazy person's bread.

Good thing I recently became enamored of Amanda's blog, Fake Ginger! She has a recipe for French bread that she claimed was very easy. And hey, she wasn't lying.

It fit my requirements:
-Made 2 loaves [which wasn't a specific requirement, but I did want a sizable recipe]
-Was not expensive, because it only had like 5 or 6 ingredients, and all of them are things that are used frequently in baking.
-Did not required a loaf pan [big deal, because uh, I don't own one]
-Quick! Took maybe an hour and 15 minutes, including cooking time


Verdict by me: DELICIOUS.
Verdict by the boyfriend: ... ... [oh, yeah, his mouth is full so I guess we know his opinion?]


French Bread
[my tips are in parentheses and italics]

1/2 cup warm water for yeast
2 teaspoons yeast [I used one packet of Flesichmann's; they sell them in little handy squares that coincidentally was just the amount that I needed]
2 cup hot water
3 tablespoon sugar
3 teaspoon salt
5 tablespoons shortening
6 cup flour

Dissolve yeast in the warm water.

Mix all the other ingredients, but only use 3 cups of the flour. Save the other 3 for later.

Add yeast and mix.

Add remaining 3 cups flour, stir well.

Let the dough rest for about 10 minutes.

[At this point the dough was thick and it was hard to stir, so I started using my hands and sort of just pummeling the dough.] Pummel and then let rest, and do that 3 times.

Divide dough in half, roll out in rectangle shape. Cut diagonally about 3 times across loaf and let rise till doubled in size. [My oven was preheating at this point, and I was being impatient, so I put the pan across the oven so it could be in the most heated place in the kitchen, and so rise a little faster.]

Brush with egg white and bake loaves on cookie sheet at 400 degrees for 35 minutes. [Unless you're using egg yolks that same day or the next morning, I would skip the egg white step; it just adds a shininess to the bread, but doesn't add anything to the flavor.]

Welcome!

I admit, I'm addicted to cooking blogs. Its a good thing that you don't actually gain any weight while reading about the delicious foods [although I'm not above admitting that I have snacked like a starving girl after several hours of browsing internet foods].

I also love to cook. Some people tell me I'm good at it. And not just my mom, but people who don't even have to be nice to me.

Sooo, why not jump on the bandwagon! Cooking blog, check.

But I honestly think that I bring something to the table that not a lot of other cooking/food blogs offer [I'm tickled by my pun, by the way]...

I'm a college girl. To be specific, a first-semester grad student living on scholarships. I would love to make a million things that I see other women making on TV or the internet, but I just don't have the money to buy an ingredient that doesn't go in Ramen or chicken nuggets. Which are the staples of a college kid's diet, for those of you who do not remember.
No, I'm kidding. But I do have both of those in my kitchen right now. Hm.

But still. I honestly do have to cook cheap.

I don't have a family to inspire me to prepare a balanced meal for nutritional purposes -- I have a boyfriend who hates veggies, and loves teriyaki sauce.
I usually don't have the proper equipment or all the ingredients -- I have a cell phone that I frequently use to call my mom and ask her how in the world I can still pull it all off.
I won't be using fancy cameras to document my journey -- I'll use my regular digital camera and sometimes my phone.

I hope you're still interested. Because I'm still excited.

Feel free to come along on my cooking experiences. I will test any and all recipes that I put on here, and many of them have also been adapted from their original version to suit my purposes/lifestyle. Hopefully you'll get some good food out of the deal.

Happy cooking :)